Saturday, July 27, 2013

Wedding: Centerpieces 4 (Odds N Ends)

My final post about the wedding centerpieces is finally here.  The tables we used were quite large so I needed the centerpieces to be to scale.  The food was served family style which meant I needed to stay away from height in any of the centerpiece components.  So instead I went for length- I used a lot of elements of varying heights, sizes, textures and colors to give the centerpieces interest.  I love the way they turned out and so did the bride.
Photo by Lee Benson
The tables were covered with white tablecloths with burlap runners.  
Photo by Lee Benson
 Each table had one large Mason jar filled with flowers and embellished with a seam binding bow & tags as I showed in this post.  The flowers were gorgeous. The focal flowers were beautiful white peonies- there were actually two different types.  Pale peach delphiniums, light peach roses and small white daisies completed the pretty bouquets.   A variety of interesting greens added texture and interest.  The flowers fit the vintage barn vibe perfectly. 
Photo by Lee Benson
The buckets were hanging on Shephard's hooks outside lining the aisle.
Photo by Lee Benson
This is the bridal table. You can see that I added two of the large Mason jars full of flowers and the two embellished scented candles to this table as well as several of my decorated bottles.  
Photo by Lee Benson
The bridal table didn't have a number on it- good thing as I had exactly 15 flower frogs and not one more.  The other 15 tables looked similar to table 7:  Each table had some Mason jars, several votives, and embellished lids but there wasn't a set pattern or number at each table.  
The components that have already been discussed in a prior post: 
Photo by Lee Benson
Embellished Bottles 
Flags and Tags Table Numbers

Today I want to show you the final two elements I used on the tables.  The first I used on all the tables. 
 Many of the Mason jars we used were vintage and came with these awesome lids.  I kept staring at them as they sat in a sad little pile on my studio floor.  They just sat there begging me to use them....but how?  One day it hit me- embellish them and use them to hold tiny votive candles.

Embellishing them was simple.  I used a small amount of hot glue and the same ribbons and trims I used on the jars themselves.  I had planned on using sand in the bottom, but we had the rocks from Brandin's mom and they worked perfectly.   The votives came from Hobby Lobby and those babies burned for 8+ hours.  Seriously!  I joked it was like the Hanukkah Menorah.  I couldn't believe it.  I lit a few at 2:00 when the meal was about to be served; leaving most of them for later in the evening.  I lit the second group around 4:00 pm and most of them burned until I blew them out at 10:00 pm- including some that were lit in the first round.

Finally, these cute chalkboards were at the bridal table in front of each member of the party.  They are made simply by painting chalkboard paint onto small artists canvas.  I used them for another party a few years  ago and still had them hanging around.  I added the cute bows to make them more wedding-y and that's it.  Perfect repurposing.  
This is the best shot I have of hte actual tables with the table settings.  The teal napkins really added the pop of color that topped off the entire look-that was all Brandin as I had no idea she had ordered teal.    I hope I get better photos when the photographer's photos are done-if I do I will share.  Until then- this is it.  

May your day be filled with Sunshine and GLITTER.

This post has been Linked to the following Linky Parties:

Tuesday, July 23, 2013

Wedding: Pretty Bottles

I love decorating bottles.  It started a few years ago when I sat down to make potion bottles at Halloween.  I envisioned a set of grungy, realistic, old medicine-type bottles.  But no matter what I did, I just couldn't make anything I liked.  Then it hit me....I am not a realistic-potion-bottle-maker type person.  I mean how many times have I said that in my life?  #PartyTalk.  With my newly-minted epiphany complete, I sat down and made something that was more me. 
Though I didn't end up with potion bottles, I did end up with something I really love.  You can read more about them here.  

I loved them so much that I also made a Valentine version which you can read more about here.
When I found out Brandin had Mason jars for the table centerpieces, I knew I needed to make some of my pretty bottles to scatter around. 
 I didn't really know exactly where I would be using them, so I just made a bunch knowing they would fit somewhere.  When I stopped it wasn't that I ran out of ideas, but rather that I ran out of bottles.  
I prefer to use vintage bottles, but I don't mind using new bottles if they are very plain.  You will NEVER see me using a bottle that has "Bertolli" or "Bell" written in the glass.  It is easy enough to find bottles or jars that do not have any identifying brand marks.  
I was lucky that the woman who let me borrow all her flower frogs for the table number tags and sourced the suitcase we used for the cards, also had several of these old bottles in her shop.  She got from a school.  I fell instantly in love with them and bought every one she had that day.  They have various numbers etched on them and one even says "acid".  They even have beautiful lids as you can see on this one above.
I kept them all different.
Maintaining a cohesive look with the color palate....
....and seam binding and.....
....trims and tags.
I ended up using a few on the Bridal table because I wanted that centerpiece to be special. 
I also added them around on the dessert buffet table and 
drink table.
Which one is your favorite?

Two other things I wanted to show you: First we had the fun colored straws on the drink table.  I picked up two cheap ice cream dishes at Hobby Lobby and added a simple bow.
Finally, I had this old Mason jar that my grandmother gave me. Since it was the only large clear jar we had I made it special.  The broach came from Brandin's dress- she never intended to wear it.
After this photo was taken, the day of the wedding actually, I added the word TIPS onto a tag and added that tag to the bunch that were already on the jar (you can see the circle tag).  This was then used for bartender's tips.

May your day be filled with Sunshine and GLITTER.
This post has been linked to the following Linky Parties:

Sunday, July 21, 2013

Wedding: Words Of Wisdom Book

Brandin's wedding programs included a second page which was a place for guests to write advice or "words of wisdom" to pass on to the newlyweds.
I love it this idea but what was she supposed to do with all those loose cards?  Only one of the pages had the guests writing on it.  I quickly offered to make some sort of book for her.  In the end I bound them together using a Zutter Bind-It-All
I have had the Bind-It-All for 2 or 3 years and this is the first time I used it.  I know...ridiculous...but we crafters aren't always logical.  I mean, I've thought about using it a million times... but it seemed so daunting... I alway chickened out. What I learned is that it isn't hard to use at all and I am kicking myself for all the lost opportunities for making a banging book.  Now, I'm am HOOKED.  It was so easy, so much fun, and book looks so professional. 

What is the Bind-It-All?

The pink machine comes with the hole punching mechanism and the coil bending portion.  You purchase the wire coils (there are several sizes and colors available) and you can either purchase or make your own covers and pages.  
The covers and inside pages are packaged like this and come in many variations of size, color and medium.  Covers come in white and brown chipboard, wood, canvas, as well as acrylic. There are multiple sizes as well.   You can check out their website here.  I find that my local Tuesday Mornings often carries Zutter products at ridiculously low prices. 
For my project I used my own chipboard.  I always cut chipboard using another Zutter product, the Zutter Kutter.  It is the only way I can get straight, neat cuts on thicker materials.  After cutting a front and a back, I covered both sides of each with Distress C'oredinations Cardstock.  The edges were inked using Distress Ink in Brushed Corduroy using an Ink Blending Tool.  

  I cut a strip of paper from my scanned copy of the vintage sheet music for Here Comes the Bride (I also used this on the candle redo here).  I gathered a few strips cut from the pages of a vintage French book.  I gathered the paper and adhered it behind the sheet music.  Again, all of the edges were inked with the samehttp://whipperberry.com Brushed Corduroy Distress Ink.  

Next I punched 1" scalloped circles from glitter cardstock using a Martha Stewart punch and glued those to the bottom half of the cover using 3M Quick Dry Paper Adhesive. Whenever you are adding a design element such as polka dots be sure to have some of them falling off the page.  This gives you a natural, more pleasing, finished look.  was glued in place with the 3M glue.  

Finally, I added a title using a simple label maker with black tape spelling out "Words" and "of".  The final word "Wisdom" was added using Idea-ology Alpha Parts which are self adhesive.  After affixing them as shown, I painted them using Ranger Gold Paint Dabber.  

The last step is to bind all the pages and both covers as per Bind-It-All directions.  It was so easy and really looks terrific.  

What is your favorite method of binding?  Don't be surprised if I start showcasing lots of binding projects on this blog. I apologize in advance. 

Friday, July 19, 2013

Wedding: Centerpieces 3 Tags and Flags

The final major component for the table decor was the table numbers.  I wanted something that was a show stopper and highlighted the vintage theme.  I'm have to admit that I wasted 2 days of work before I designed something I felt worthy.  That means 3 different design angles (and lots of tags and cardstock) ended up in the "vertical file" as a former teacher used to call the trash can.  
Early on I knew I wanted the numbers to be on a flag of some sort....Ah, but what sort?  Isn't that always the proverbial questions? 
After I designed a flag that I loved (more below) wasn't enough....it needed more....it wasn't yet the showstopper I knew it could be.  So, I played some more and came up with 3 components that together gave me everything I was looking for in the "piece(s)".  

Maybe it is a tad overboard...a little too much....a bit over-the-top, because when Brandin saw the flag all by itself (after I confessed to the lost time and trashed designs) the conversation went like this: 
Brandin: "I love it" 
Me: (giggling from fatigue and brain cramping) "This is only 1of the 3 pieces" 
Brandin: "Oh, I would have been happy with just that" 
Me: "Oh, but I wouldn't" I show her the final design with all 3 pieces.
Brandin: "ok, you're right"
Me: (of course I'm right.....is she kidding?....never a doubt....well maybe a little doubt....a few nights of lost sleep....a stress ulcer...trashed designs, paper flotsam and ribbon jetsam all over the studio floor,  a trip to the ER...meds.  No, I'm kidding....well I'm kidding about the ER and the meds; the rest is true)
I LOVE the way this project turned out...and I am NOT going to show you the horrific garbage I made prior to this.  It is that bad and it is filed safely away in the garbage dump. 

To Make FLAGs: 
1. Start with large #12 manilla shipping tags.  Add all-over color to 30 tags with Distress Inks and a little Archival Ink (on the edges) using an Ink Blending Tool.  I followed the same techniques for all 30 tags up to this point so they looked alike.  

2. Add water droplets (Tim Holtz's Spritz and Flick) and dry everything with a heat gun.    

3. After the ink is dry attach 2 tags together, back-to-back, by running a small amount of double sided adhesive down the center.  I did this-rather than simply coloring both sides of 1 tag because when I do a lot of inking like this, the backside of my tags become hot messes.  The various embellished Mason jars definitely had a "back side" but I wanted the table numbers to be legible from all sides.  

4.  Next trim the ends into the flag shape using a paper trimmer.  By attaching the tags back-to-back with a small amount of adhesive before trimming them into the flag shape ensures they match perfectly.  Remember, it's the details.
5.  Attach either antique lace or ruffled tissue paper along the bottom edge using double-sided adhesive-VERY sparingly to attach it on the inside of the two tags.

6.  Sew a straight stitch around the tags using a sewing machine.  Now the tags are attached together permanently and securely.  Be sure the adhesive attaching the two tags and/or the lace/tissue are not in the line of stitching if possible to protect the sewing machine from getting gummed up.
Pretty Peony by Impression Obcession
7.  Using Encore Gold pigment ink stamp either a Stampin'Up hydrangea, text, french script (an OLD stamp that I LOVE), or a large peony (above) randomly around the background.  This is something you should not do after your 3rd glass of wine because need to pay attention to "which end is up" on both sides of the flag or you will be redoing said flag.

FYI: the hydrangea stamp is one I have had for over 12 years and one I go back to again and again.  It has long been retired but last week I noticed that it is being offered as part of their current Best of 25 Years celebration as part of the Best of Flowers Stamp Set.  You can find it here.

Stampin' Up hydrangea stamp 
8.  Stamp large numbers using Distress Embossing Ink, Gold Embossing Powder and Tim's new-ish Numeric stamp set.  Emboss with heat gun.

9.  Stamp wedding date using Amy Tangerine date stamp with Broken Glass Distress Ink as shown.

10.  Make aqua seam binding bow by wrapping around fingers at least 4 times and tying off with another piece of ribbon. Attach through the hole.

11.  Add pearls-varying the size, location, and number of pearls.
12. Flag Pole: Paint wooden barbecue skewers using Tarnished Brass Distress Paint.  (I am not sure why it is Brass and not Gold because sure looks like it is gold to me).

13.  Punch two holes in each tag and run the skewer through.

14.  Top off the flag pole by adding a plastic pearl bead onto the top of the skewer.  The skewers are tapered at the top (better to thread your chicken my dear) so add a tiny drop of hot glue to hold the pearls in place.

Flag...COMPLETE.
To Make Large TAGs: 
1.  Start with 15  #8 manilla shipping tags.  Ink background using Broken China Distress Ink and an Ink Blending Tool.  Distress edges with Brushed Corduroy.

2.  Spritz and Flick (if in doubt Spritz and Flick I always say).  Dry with heat gun.

3.  Stamp the sentiment using Black Archival ink.  I used a stamp from Tim Holtz's Good Thoughts stamp set.

4. Cut 2 inch strip of  Tattered Rose DistresCoredinations cardstock; scallop one edge using scissors or die.  Attach to tag.

5.  Using hot glue attach ribbon over joint between tag and pink cardstock.

6.  Attach plastic pearl trim over ribbon by wrapping around to back of tag and applying a small amount of hot glue.

7. Using Alterations Tiny Tabs and Tags die cut file label from cream cardstock and round tag using gold glitter paper.

8.  Ink edges using Brushed Corduroy Distress Ink and Ink Blending Tool.   Using Idea-ology Remnant Rub-Ons attach words to label and attach to tag using 3M Quick Dry paper glue.

9.  From Alterations Word Play cut "b"(or couple's last initial) from laminate of cream cardstock and vintage French book paper.  Ink edges of "b" with Brushed Corduroy Distress Ink.  Cover with Ranger's Glue and Seal and dip in Rock Candy Dry Stickles.

10. Attach tag and "b" to a Idea-ology Jump Ring and attach to tag using a second jump ring.

11.  I did NOT make a clean back for this tag but you certainly can.
Large Tag...COMPLETE
To Make Small FLAG TAGs
1.  Die cut 15 #2 shipping tags using Alterations Tabs and Tags from Tattered Rose Distress Coredinations cardstock. 

2.  Ink edges with Brushed Corduroy Distress Ink.  

3.  Die cut the smallest rosette from Alterations Sizzlits Mini Rosette in pink cardstock.  

4.  Using punches punch 1" scalloped circle (Martha Stewart) (blue polka dot) and a 5/8" circle (dark peach).  Attach as show using hot glue.  

5.  Ink ALL edges with Brushed Corduroy Distress Ink

6.  Pull apart Christmas garland in old gold color.  

7.  Using hot glue attach mini rosette to tag with piece of garland between the two as shown. 

8.  Tie simple bow using small scrap of vintage lace and thread.  Place lace into bow shape and tie thread around the middle to make it appear as if it is a tied bow.  Hot glue in place. 

9.  Attach to a small piece of the flag pole as made above.  

10.  Attach the pearl bead to the top of the flag pole- if the skewer is tapered you can do as above but if it is flattened on top (from cutting it), use a tiny Glue Dot. 
Mini Tag....COMPLETE
I used vintage flower frogs to hold the 3 tags together.  I found that on most frogs the center spikes are closer together than the outer spikes and will hold the skewers but if they are too far apart use a small piece of fabric or cotton to wedge into the space.  This is will allow the flag poles to stay in place.
Tags and Flags.....COMPLETE

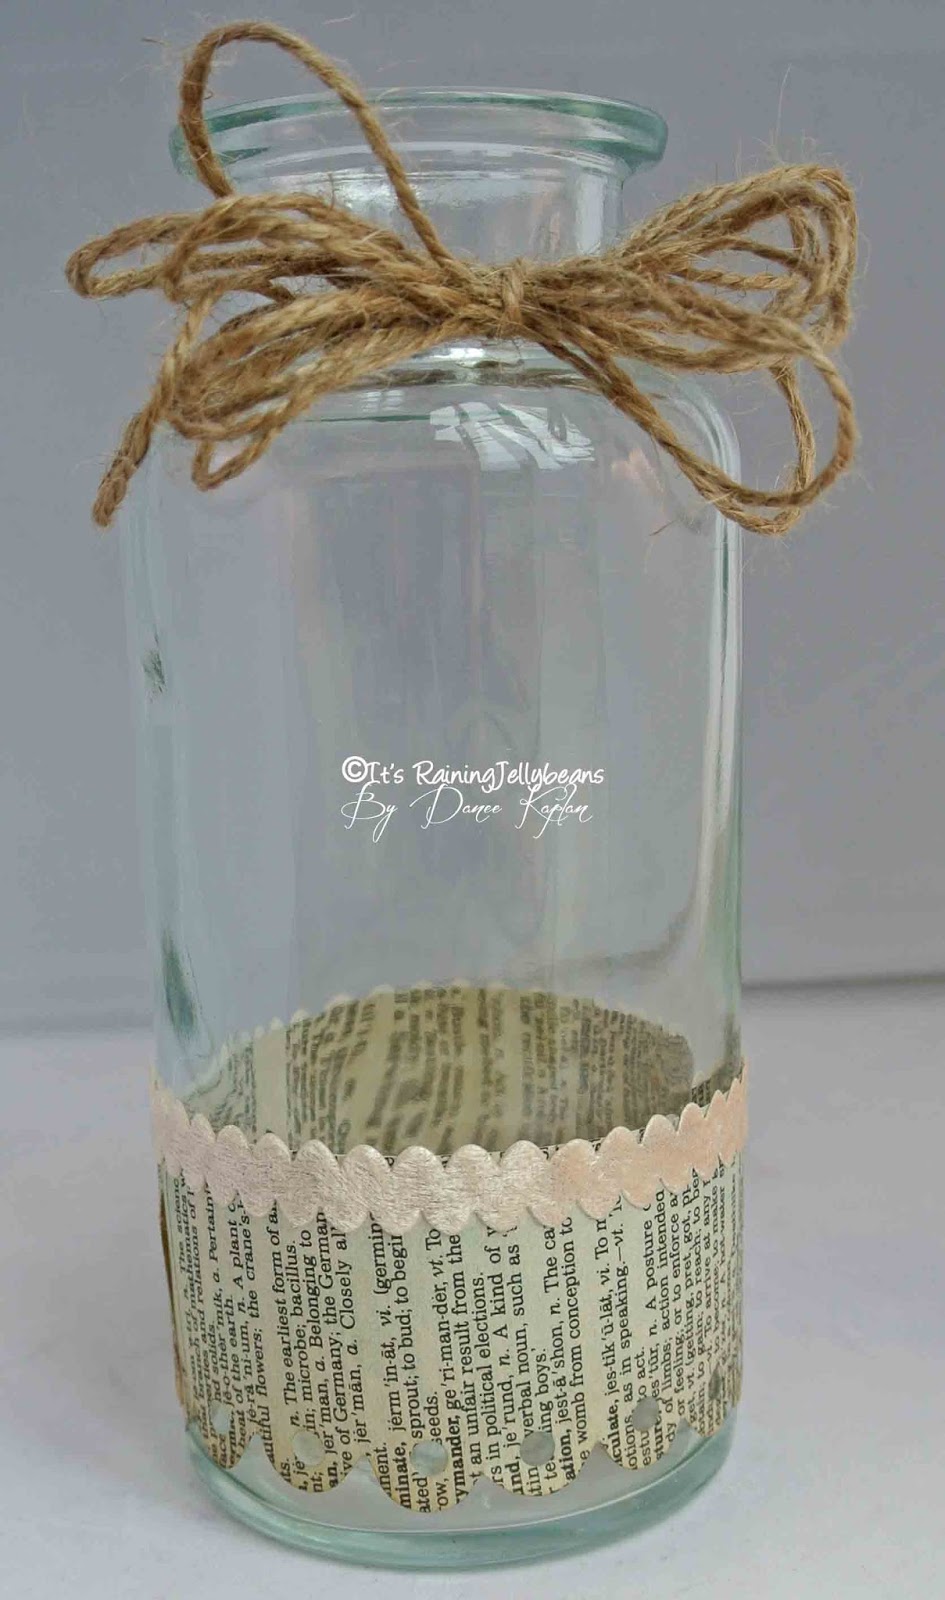
I have one more small component I used for the centerpieces to show you.  

May your day be filled with Sunshine and Glitter.

This post has been linked to the following Linky Parties:
Twigg Studios
I Gotta Try That
Clean & Scentsible
Bloom Designs
Made In A Day
WhipperBerry
The Chirping Moms
The T2 Women
Classy Clutter
A Little CLAIREification