Monday, November 19, 2012

What To Do With All Those Tags? My First Two Ideas


Obviously, I like to make tags.  As in #8 Tags.  But what to do with them after they are posted for all of you to see….well that is proverbial question.  Recently I recede a comment that basically said "Great tag…but now what?"…ok so she worded it in a far less caustic way but the point is well taken and I didn't have a good answer.  Especially because my tags are always so bulky making it difficult to put them in an album.  I decided I needed to come up with an answer or two and guess what?  I thought of a few ideas! Yay.

The first two ideas are here because the other two ideas are a little more labor intensive to get started and I haven't had time- or motivation- to get it done.


Idea #1
Make a Card

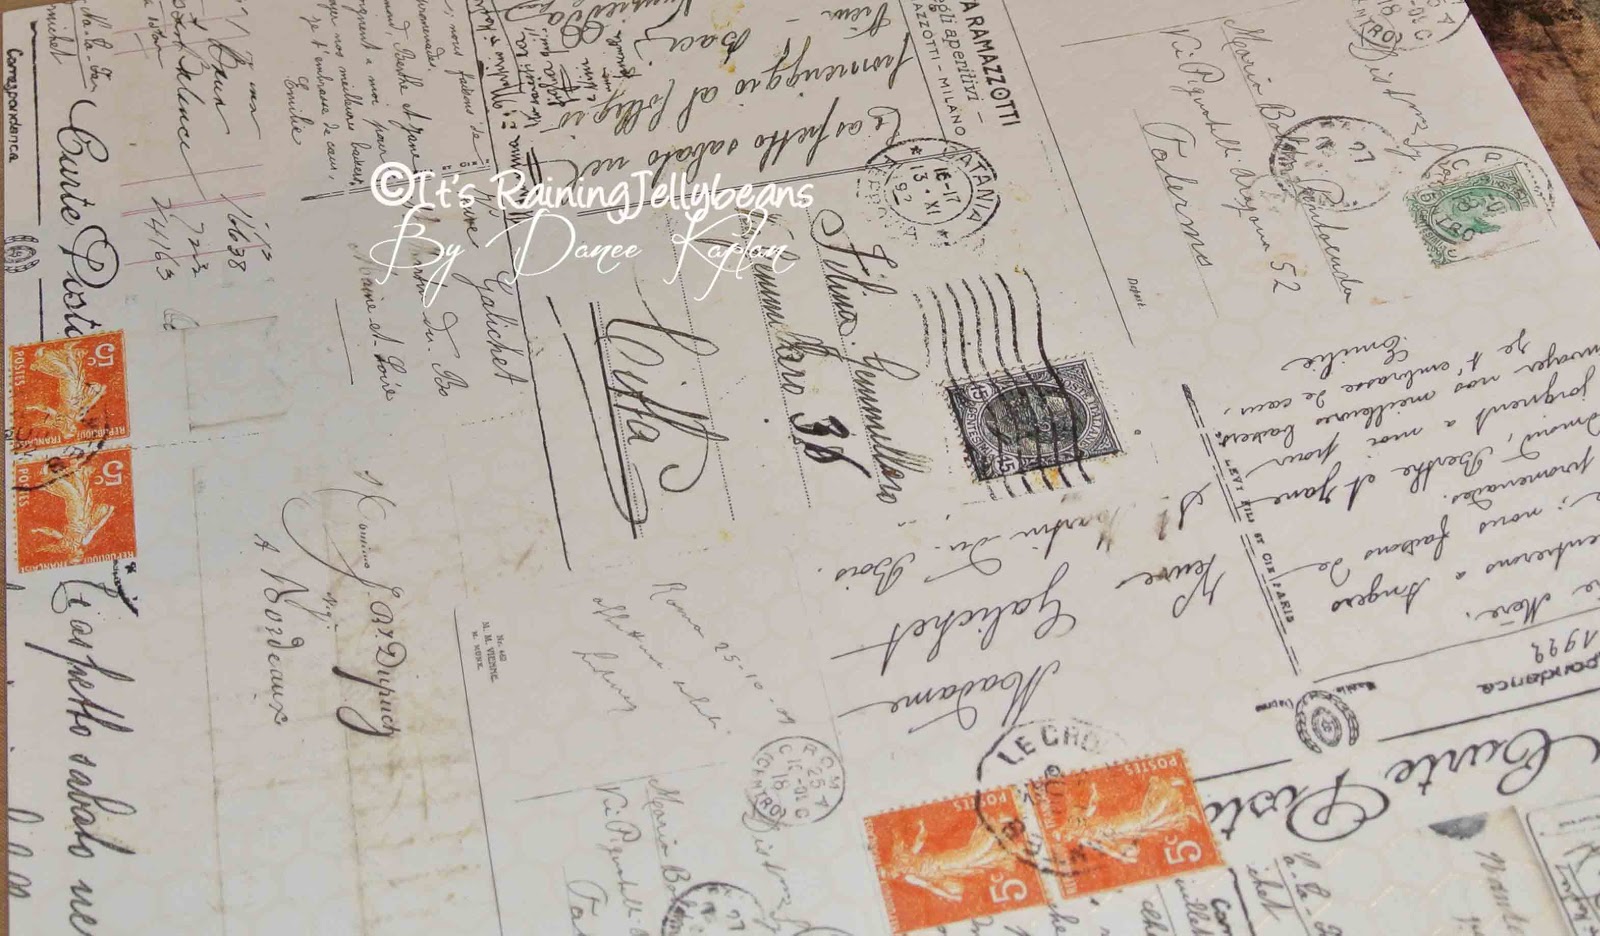
I will admit that I have sent tags as holiday cards more than once- in fact I made these tags cards last year.  But with most of my cards there is the NEATNESS ISSUE… (Yes, this is a technical "artist" term) is all Tim Holtz's fault.  You see, Mr. Holtz taught a class called Creative Chemistry 101 or as I like to call it How-To-Get-Ink-Everywhere-Including-The-Front-Of-The-Tag 101.  It gets on my hands, my arms, my clothes, my anything-that-is-near.  However, while but most of the techniques are messy they are also super fabulous and I find that I cannot stop using them.  In all seriousness, I credit that class with changing my work significantly, bringing it up to a far more sophisticated level.  You might not, but I do.

In in past my tags were all pretty and clean and ready for delivery so I simply signed the message on the back like a postcard, threw it in an envelope…signed, sealed and delivered.  Now that my backgrounds are Holtz-ified I've found they are a mess.  Tim taught me to use stains and inks with abandon in order to create amazing backgrounds BUT while the front of the card is spectacular- the back looks like the bottom of the garbage pail after a broken bag is removed.  U.G.L.Y.

What to do…what to do?  I have to cover it if I actually want anyone to see it…ever.

 A #8 tag is 6 1/4 x 3 1/8 inches sooooo cut a piece of pretty-but fairly plain- cardstock to 6 1/4 x 6 1/4inches.  Score down the center- I used a Martha Stewart ScoreBoard- and use a bone folder to make thecrease crisp.  Hint: A Teflon bone folder doesn't leave a shiny shiny.  You can find one at Ellen Huston for $19.
Teflon Bone Folder.  Source: Ellen Huston LLC
Attach the card back using double-stick tape or glue.  Punch the hole through the top of the card only and string any ribbons through the holes of the tag and card back.  Finally, clip off the edges to match the top of the tag.  


Idea #2
Display them in holiday (or everyday) decor. 
Display them on your bookcase, mantle or table topWire Frogs:  Here I used wire frogs to hold my tags and paper pieces.
Another way to put a tag into a display is by attaching an easel to the back.
Sizzix Die: Small Easel 
This Easel was made using the Sizzix Small Easel available at Sizzix.com (or widely available at scrapbook stores) for $19.99.  I cut this one from GrungeBoard and attached it using redline tape.  

Now that I've put out there that I have more ideas hopefully it will spur me to get those projects done…in a timely manner…we can always hope right?  

What do you do with your tags? 

Shameless Plug: 
I have 4 projects that were chosen for publications by 4 different magazines within NorthRidge Publishing.  The first project- the blue cocktail ring- has been published in the Dec 2012 issue of Bead Trends.  I have a Christmas Card and Christmas wall decor that should be published in Dec as well and a Valentine project coming in February.

Laters Baby….
This post was Linked to the following Linky Parties:
Tater Tots and Jello

Tuesday, November 13, 2012

November 12 Tags of 2012


Tim Holtz posted this November Tag for his 12 Tags of 2012
Source: TimHoltz.com

I will admit that I feel head-over-heels in love with the technique of melting the embossing powder and using Distress Stains to color the background.  You will notice how much as I post them over the next few days. 

Laters Baby….
This post was linked to the following Linky Parties:
Thirty Handmade Days/
Just Us Four

Monday, November 12, 2012

Compendium of Curiosity Week 28: Reflections

 I'm baaaaaaaaccccccckkkkkk….
I sort of fell out of the blogsophere last week.  My Kids had doctor's appointments in Ann Arbor on Monday and Tuesday so we stayed overnight in my favorite city.  The appointments went well and lots of good food was eaten by all.  Thursday I drove to Detroit to see the one and only Madonna in concert.  I'm a concert junkie and I'm here to tell you that Madge put on the best show I have EVER seen.  Even though I haven't listened to her new music (shhh)- and the show was almost all the new album- it didn't even matter, it was still an amazing experience.  She is a detail oriented person and it made all the difference in the show.  The woman next to me put it best by saying  "I don't know where to look" because there was so much going on.  Unfortunately, Madonna has a habit of going on late (ummmmm….nobody told us) so we got there early… and she didn't even take the stage until 10:45…on a school night.  I got an hour of sleep, yes that is 1 (one) hour of sleep, before heading home to attend a lecture given by the one and only Pop-up Guru Robert Sabuda.  Running on sugar and caffeine I made it through.

Oh, I almost forgot, last week my October 12 Tags of 2012 tag was picked by Tim Holtz and I won an amazing Tim Holtz District Market Bag…Yay me!

So, Compendium Week 28 (I missed 27) is Reflections.  You know the drill….it all comes from Tim Holt'z book Compendium of Curiosity Vol. 2 and the challenge is run by Linda at Studio L3.  Simon Says Stamp is offering a $25 gift certificate to one randomly drawn participant.
Reflections are Tim's stamps with Stampers Anonymous that are intentionaly backwards so that they can be first stamped onto another stamp or onto a texture fade and once the image is pressed onto paper it is oriented correctly.
The next two cards are just samples I was playing around with using the same technique. 
I even used my Distress Markers to color the Poinsettia…I never use markers so I was momentarily proud of myself.

Come back tomorrow for my take on the November 12 Tags of 2012
Laters Baby….
This post has been linked with the following Linky Parties:

Thursday, November 1, 2012

Business Card Holder: Tutorial Part 2

Today I will talk about coloring varnish-resist papers such as Color Magic; Tim Holtz has a line called Kraft Resist and Pink Paislee did Mistables and embellishing the books.
Supplies:
Distress Ink
Ink Blending Tool with foam pad
Color Shine Spray Mist
Color Magic Paper 
Various papers
Idea-ology: 
  Facets
  Charm Clips
  Corners
  Word Keys
  Jump Rings
  Alpha Parts

Mistables by Pink Paislee
Color Magic by Heidi Swapp
Tim's Kraft Resist 
The papers can be colored with anything that colors paper but I prefer to use Stains, Distress Inks and Mists.
First, I used Heidi Swapp's new line of Color Shine Mists.  Here colors are beautiful, have a lot of sparkle and don't seem to clog like Glimmer Mists-though I do use Glimmer Mists and handmade mists made with Distress Reinkers, Ranger Mini Misters and Perfect Pearls.  Any of the mists will work Perfect Pearl Mists, Dylusion Sprays, or Ranger's Adirondak Color Wash.
 I like to spray onto a teflon mat because they clean up so easy.  
 If you are worried about over spray and mess you can either purchase a spray box or just use an old box like I do. Lay the paper at the bottom of the box and spray away letting the sides of the box keep the spray contained. 
 Just spray along, letting the colors bleed into each other.  
 After the color sits a second or two lay a paper towel over the extra spray and soak it up.   
Heidi Swapp figured out that Windex- and only Windex- cleans the resist area.  When you spray the darker colors they tend to "dirty" up the resist areas (like the right side of this sheet) but if you spray a little windex on a paper towel and wipe the entire paper it will clean that up (like the left side).  It also works to clean your hands which will get messy with any spray. 
After the spray has dried- you can speed it up with a heat gun- go over any areas with Distress Ink and a Blending Tool.  You can enhance a color or add color in an area that didn't get as much spray as you would have liked.  You can also use black or brown to add distress and interest to the edges. 
That's it….easy to do for sure. 
Embellishing the Books: THe Big Book
 I grabbed a variety of papers and embellishments to start. 
And ended with this.
 The Banner Delight is Color Magic- I hit it with Distress Ink using a Blending Tool.  You can control the amount of color by how thick you apply the ink or how many layers you add. 
 The bottom layer is glued up with Glue N Seal.  Since the book is covered with Glue N Seal it doesn't matter if you get glue on it now so go ahead and use it as your work space right now.
 The Heidi Swapp Trimmings are Tyvek- they take color well so I sprayed with Color Shine.  But the fun begins when you add heat.  They curl up on themselves.  But go slow and be careful or you will have a big wad of plastic.
My FAVORITE Letters are Idea-ology Alpha Parts.  In this case I used Newsprint but I love Ransom as well.  I used them to spell out "Little Numbers".
 The key to Alpha Parts is Ranger's Silver Paint Dabber because they make the black plastic look like metal.
The "PIece of Rosette with Tissue Tape" is literally a piece of Alterations Rosette that I didn't fold up but did add the tissue tape to.  I love the way it works amongst garlands- the scalloped edge is so fun.
 The bow was embellished with: 
Idea-ology Charm Clips
Idea-ology Jump Rings
Idea-ology Facets

Idea-ology Word Keys
Each embellishment is attached to Charm Clip using a Jump Ring.
I glued a piece of vintage lace to the back of the Facet with Glossy Accents.  The crystals is from my chandelier. 
The Idea-ology Corners will hide a world of sins if you hate the way your corners turned out.  They also look great even if your corners are perfect. 
The Small Book
I went minimalist on this book but you can go as far as you want.  You could easily add ribbons to one or more of the binder rings.  Love dangles?  Go for it. 
Finally, I wanted talk about something that isn't picking up on the camera so well but I found fascinating.  The Color Shine colors are very sparkly and very vibrant.  Sometimes when I'm making a project for an adult I'm not so sure I need all that BAM.  When I used the Glue N Seal to cover this paper it muted it down to a soft and beautiful finish.  
I love this look so my accident is now part of my repertoire…love when that happens. 

Laters Baby…
This post was linked to the following Linky Parties:
The 36th Avenue
Thirty Handmade Days
Just Us Four