

When Brandin first asked for help with her wedding, it was really more of a "help me trim down this plethora of ideas into something cohesive". You know me, I don't know when to say when and this wedding was right up my alley from the beginning so it quickly became and "I can make that..." kind of thing until I was making EVERYTHING. Sometime around March 1st I started to panic. For one thing I wasn't feeling well (thankfully that seems to have resolved) but the biggest fear was the sheer size of the space I had to fill and the logistics of the space- no electricity until day of the wedding, no water, and it was hour from my house. I was never worried about the individual projects- I've been creative and crafty my entire life, so I knew that I could make things that looked great and would fit the "vintage barn wedding". What I didn't know was how much stuff would it take to decorate a big barn or how the table centerpieces would look on the exact tables-was the proportion correct? You know, the sort of stuff that a seasoned event planner would know... but I just didn't. Since I had a big ol' barn to decorate and I was nervous, I went with bigger is better and a more is better attitude. I made a lot of stuff without a set plan of where it would end up exactly or specifically how many we would need. The 3 wreathes you see here were definitely included in this group.
Wreath 1: Dried Hydrangea with Gold
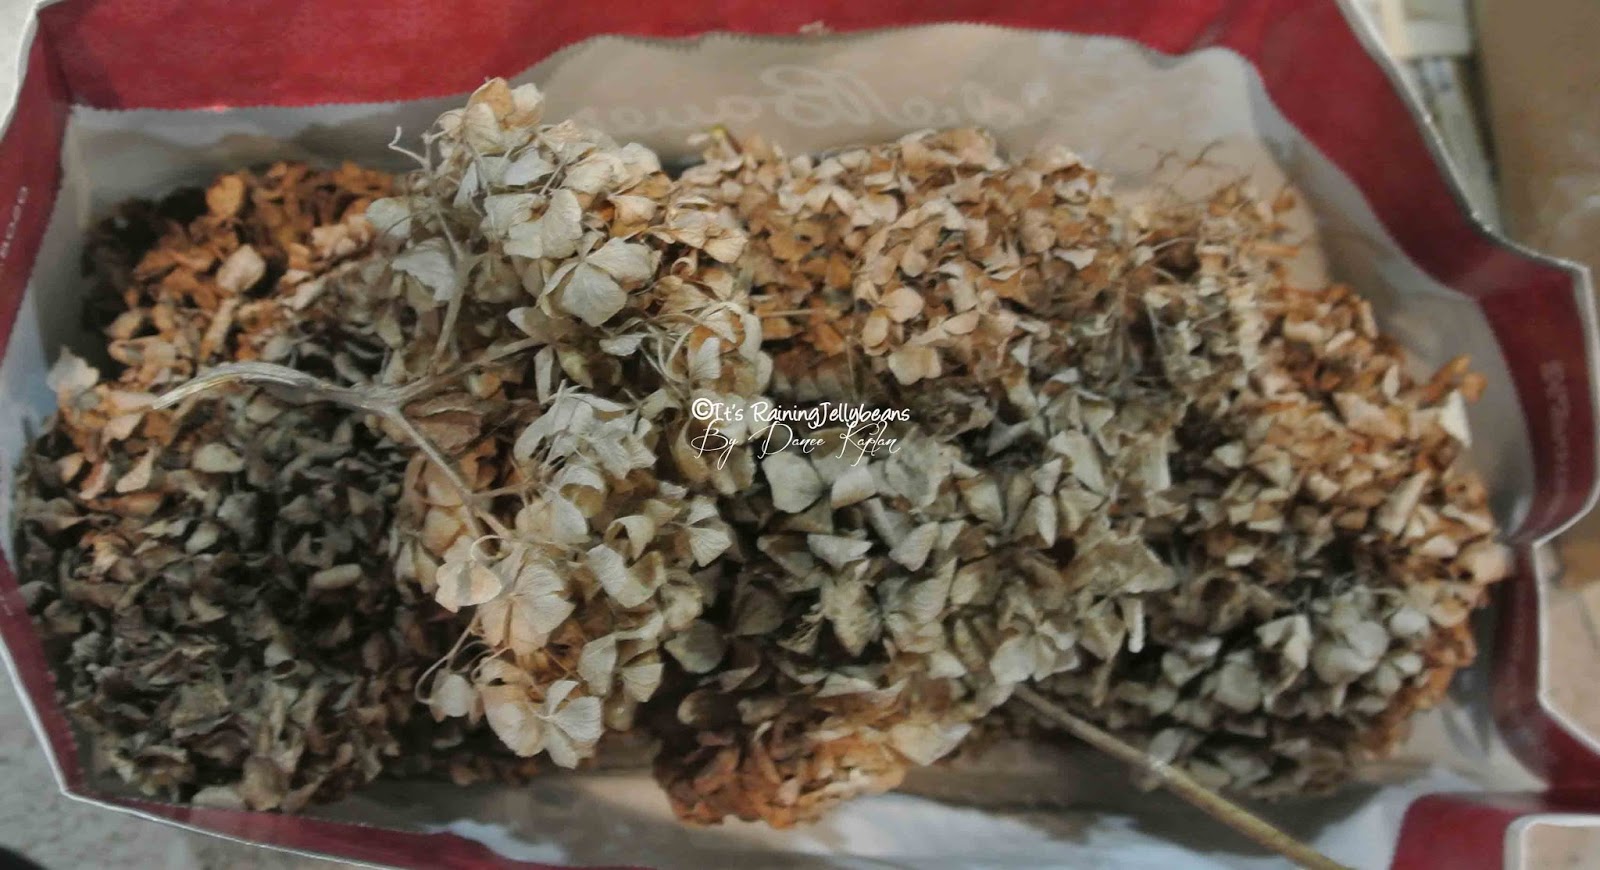 Brandin had seen a pretty table runner that used dried hydrangeas; she loved it and wanted to incorporate the flower somehow into her wedding decor. Problem #1: It was late winter...in Michigan. Not a time to source dried hydrangeas. Problem #2: The brown, dried flowers didn't exactly go with the fresh pastel peonies that were to be the prominent flower in the wedding. A friend gave her a bag full of brown dried-hydrangeas so the challenge was on!
I never let a challenge beat me. I had purchased the 3 grapevine wreaths while at Michael's one day because they were marked down and I had a 15% everything coupon. A crafter can always use grapevine wreaths. I stumbled over the bag of hydrangeas for weeks without a real sense of what I was going to do with them. One day I just decided to bite the bullet, grabbed the bag, my hot glue gun and a wreath.

Seam binding is gorgeous but it isn't great for making big puffy bows. It is just too limp. So I solved that problem by making lots of smaller bows and hot gluing them next to each other to appear as one largerbow. I wrapped the seam biding around my fingers 3 or 4 times and used a 5 inch length of the same ribbon to tie it right at the middle. This was hot glued into place.
It still needed something....gold?...glitter? I tried to glitter the dried hydrangeas (I used a small blossom I had left over) and it was a hot mess. They were too fragile to really brush the glue on so it make a big nasty ugly mess. I considered gold bows... gold ornaments... but nothing seemed to fit the vibe of the wedding until I happened to notice my Martha Stewart Hydrangea Punch. Glittered single petal hydrangea blossoms? Perfect.
Tutorial:
Martha Stewart Hydrangea Punch
Martha Stewart Drill Punch
Small Flower Stamens (available in floral department of craft stores)
Glitter Paper
Hot Glue
Scissors


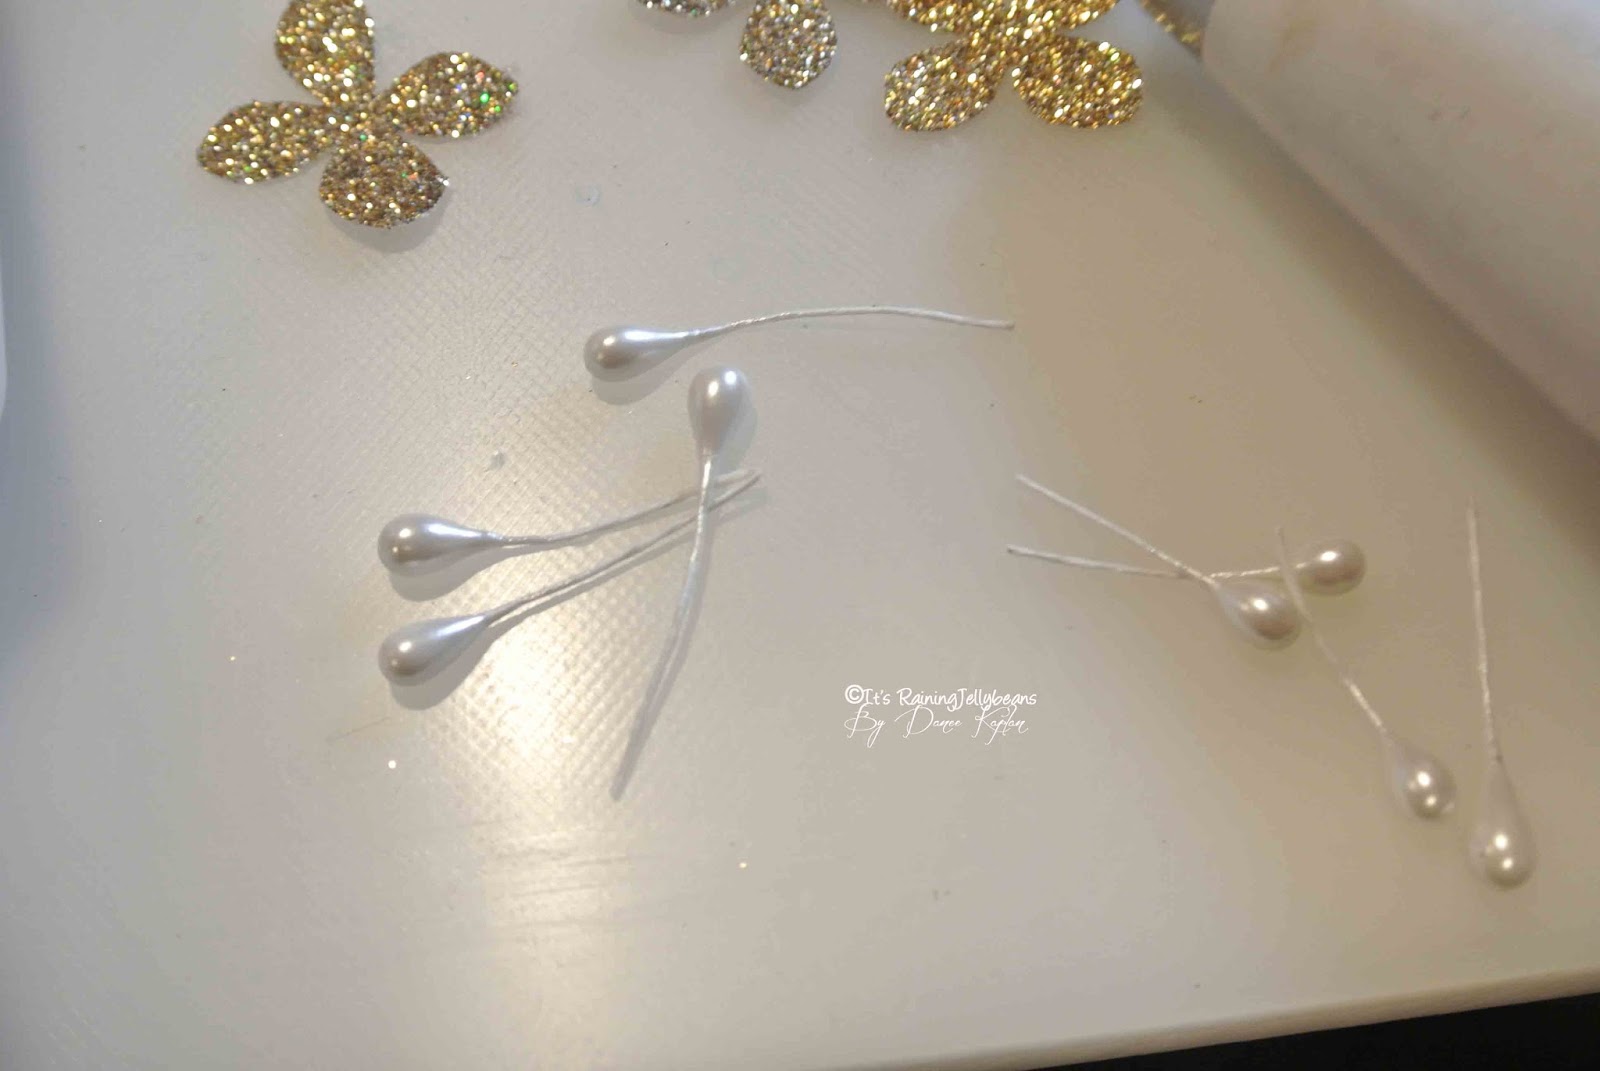


It should look like this.


I adore the way the look. I simply glued them randomly all over the dried hydrangeas being very careful not to break any of the blossoms. They are hard to see in the photograph. If you zoom in really close you can see them but in person, they added just enough sparkle to be wedding appropriate yet still had the vintage vibe I was going for.
Wreath 2: Burlap Roses and Peonies

This wreath was a complete fluke. I went to Hobby Lobby looking for burlap ribbon and few other items for the wedding and happened to find a bunch of burlap flowers, including burlap roses and peonies. I shot a photo, sent it to Brandin and received the "get them" answer I expected. Again, we were using pretty pastel flowers for the wedding and I didn't want to take away from that with a bug burlap arrangement-and they weren't cheap- so I went with a wreath. The other nice thing about wreaths is Brandin and Bill can use them in their home for years- a great home decor item as well as wedding memory.
I have wreath tutorials you can find part 1 here and part 2 here. You can also see my Pinterest Wreath Board for lots of ideas. The Part 2 tutorial shows how to get the blossoms off the stems without everything falling apart. Basically, hot glue is your friend. Once you pull the flower off the stem be sure to immediately add a large glob of hot glue into the space to hold the plastic piece together. I hot glued the flowers on to the wreath close to each other and added a few off-white seam binding bows- Simple.

Wreath 3: Roses, Burlap and Book Paper


This post was linked to the following Linky Parties:


Beautiful wreathes. What a nice reminder of their special day to have them as decor in their home.
ReplyDelete