|
| Texture Paste Coloring |
As I write this I have completed the entire class except for the last challenge and I have to say this class is incredible. Tim is always a great teacher, someone who is able to convey the information he wants to in a way that is easy to understand. Creative Chemistry 101 was all about the basics of using inks, paints, stains and rubber stamps to make art while Creative Chemistry 102 built on those techniques. Creative Chemistry 103 is definitely an advanced class that builds on 101 and 102 and never looks back. CC 103 does require 101 and 102 as prerequisites...in a previous post I mentioned you could probably take 103 as a stand alone class but at the time I didn't know that Tim doesn't allow that. As the class progressed I have to say that I agree with him. You definitely need the basics before staring this class because he doesn't slow down and teach any basics but goes full speed ahead using new products and new techniques using old products. However, don't let that scare you, if you consider yourself a beginner stamper or mixed media artist take CC 101 and 102 and then dive in to 103. The class comes with lifetime access and you can rewind the videos or even download them to your own computer and at $25 a class they are inexpensive.
So.....day 3 was all about Tim's various Texture & Collage Mediums and how they can be used in unconventional ways with the various Distress colorants. So. Much. Fun.
 |
| Layered Collage |
Layered Collage is pretty standard technique but I found I got a lot of cool texture and interest with the simple addition of Collage medium and Distress Crayons.
 |
| Texture Paste Coloring |
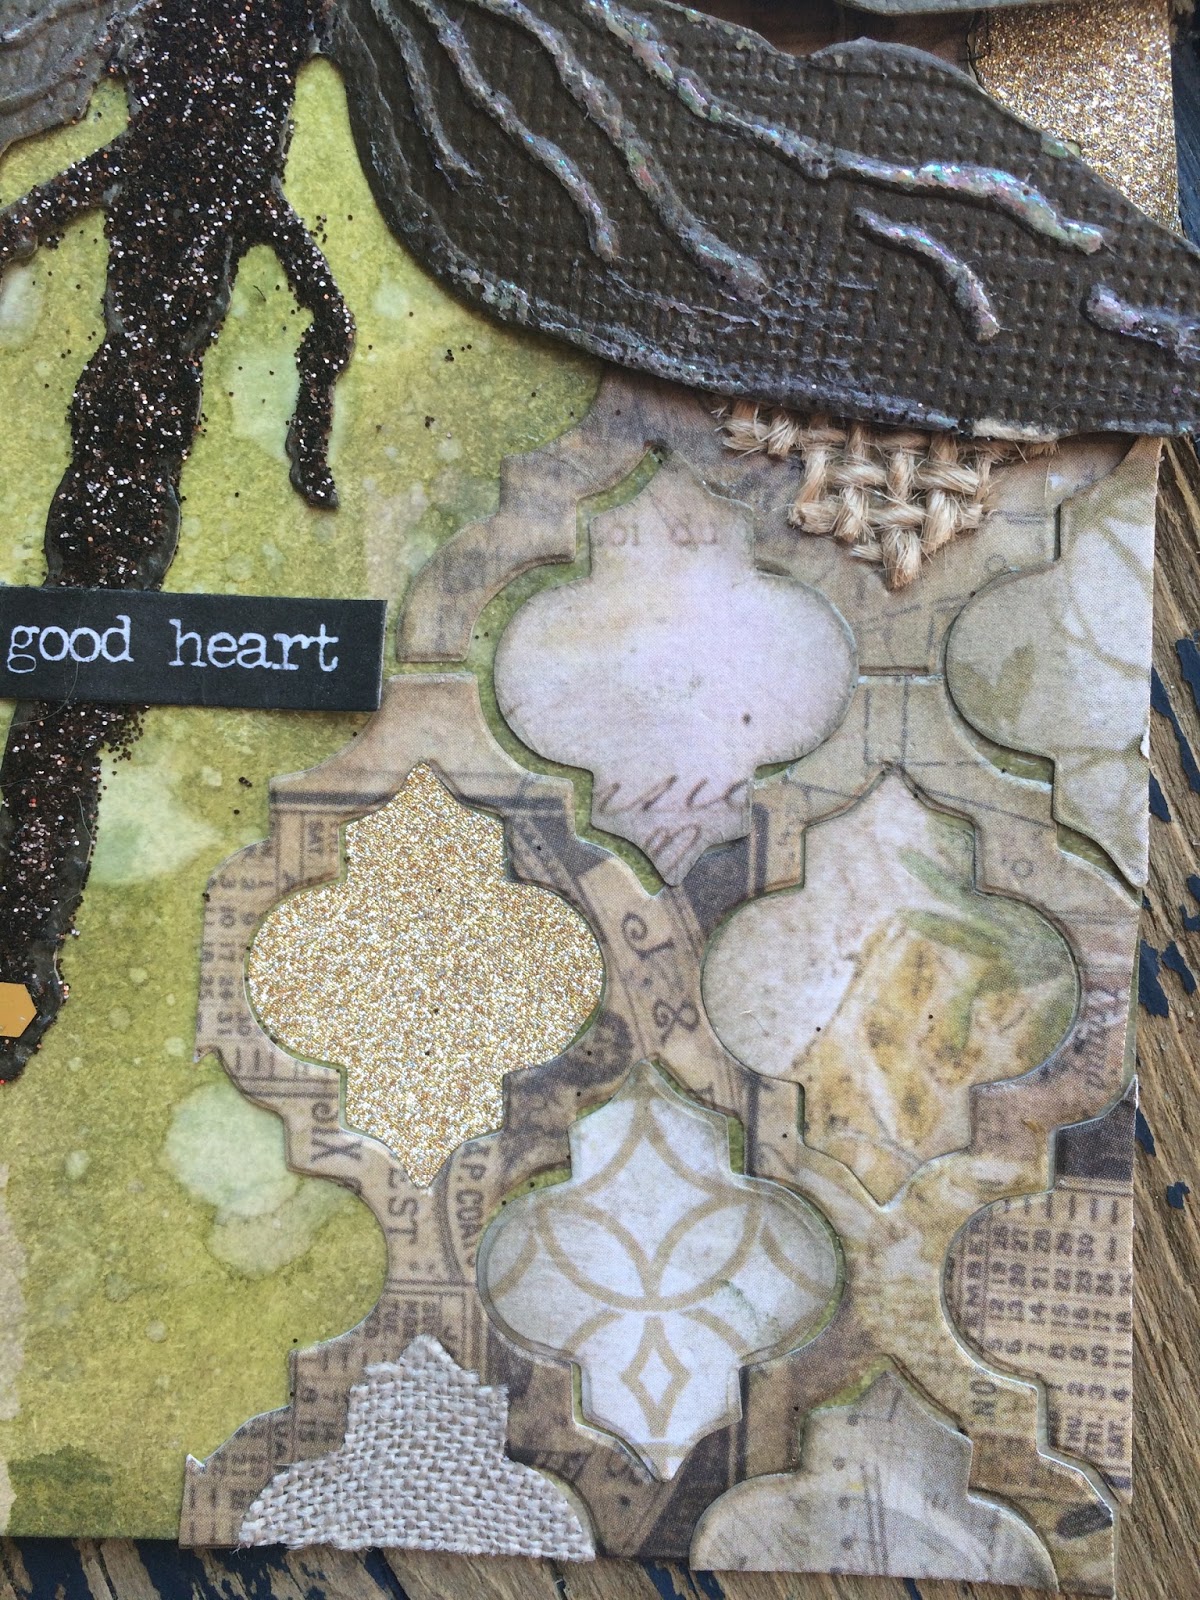
Paste Coloring utilizing Opaque Texture Medium is a very fun technique and I ended up making two very different tags using this technique. The one at the top of the blog post and the one above both use this technique. So much texture.....I LOVE this technique.
Then we did an embossing technique with Texture Paste and BAM! I had fun.
 |
| Texture Paste Embossing |
 |
| Texture Paste Embossing |
 |
| Texture Paste Embossing |
Texture Paste Embossing Technique gives a gorgeous metallic effect unparalleled by other embossing techniques and I couldn't stop making tags. I actually made more than this but decided I could stop photographing them. This technique is a lot of fun to actually do- the embossing powder bubbles and melts in a really satisfying way.
 |
| Texture Paste Resist |
Texture Paste Resist Technique. I LOVE this effect. It doesn't photograph all that well- the photo just doesn't pick up all of the beautiful glossy texture-though it does show up pretty well on video. That said, I didn't think I was going to be all that impressed as it is a sublet effect. It makes a huge mess on the stencils and takes forever to dry and can't be dried with a heat tool- so I ended up leaving them overnight to dry. Then I made my sample and it wasn't pretty....or glossy or transparent like Tim's tag. Hmmm...you know where this is going right? I don't even know what I used but it wasn't Transparent Glossy Texture Paste because that was still sealed right with the factory plastic seal. So....another huge mess and overnight dry time but this time... it was perfect. Such a feminine sublet but effective way to add texture to a project.
 |
| Distress Grit-Paste Grunge |
Distress Grit-Paste Grunge. I am not sure I am a grungy enough artist to use this paste in this way but it does look pretty darn cool. It also looks amazing as snow and I cannot wait to use it at Christmas.
Day 3 done. So many fun techniques that I will definitely be suing over and over.
Follow me on Instagram DaneePKaps or Twitter @RainJellyBeans
Laters......
SaveSave